There are some days when I believe the universe is more than ready to co-operate and send a project my way where I know that I will enjoy every single minute from concept to execution. And make a client’s dream come true? Probably mixing metaphors here, but that’s the frosting on the cake.
So, the starting place. A spacious master bath, with great bones, beautiful fixtures, a floor that sends my imagination spinning and a client looking to get rid of her boring blue walls and she says the words. The key to my heart in secret code: I want you to make magic. Make it wow!
Well, ok then. Let’s go. Here’s what the view looks like. I’ve reduced the color to black and white. Color will distract.
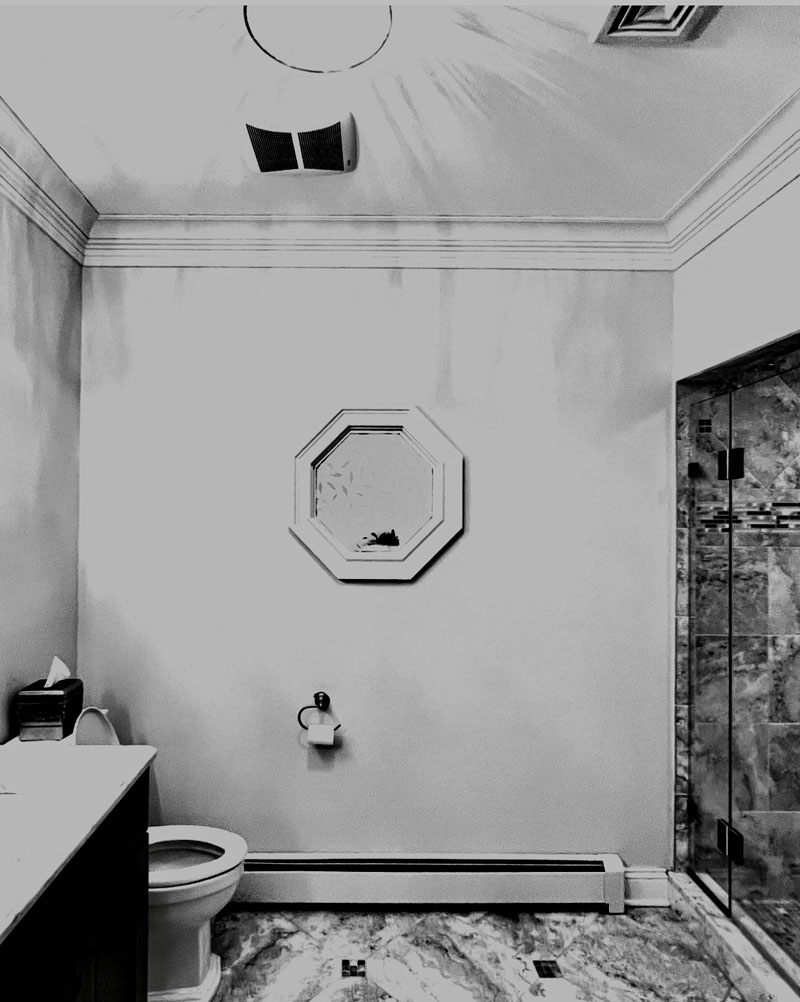
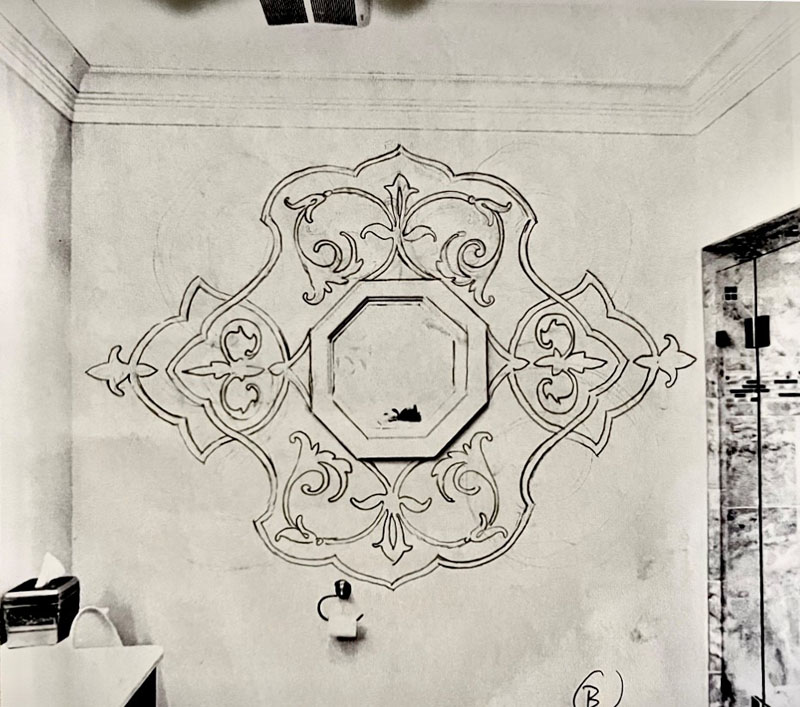
We discussed ornament and the design is simply just pouring off my pencil. Drawing on the room’s photo makes it easy to visualize.
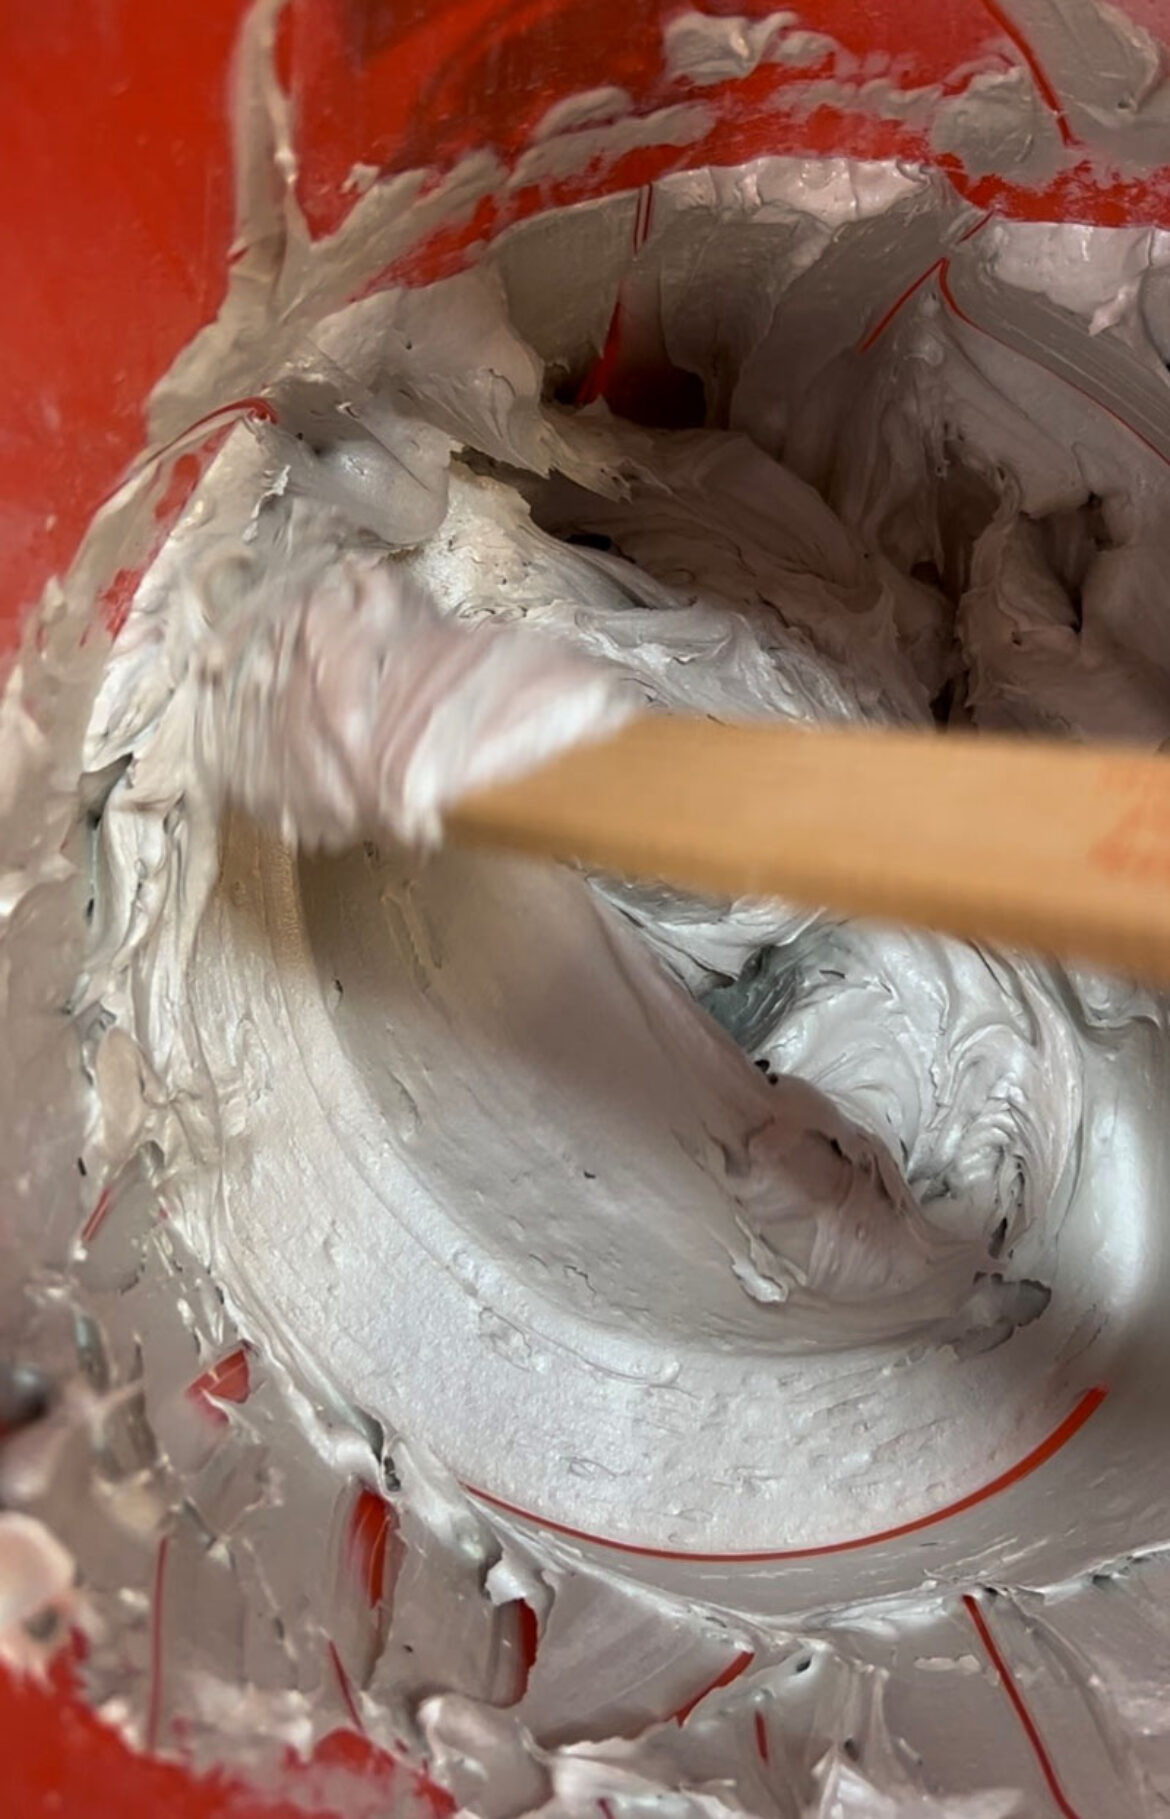
We both agree Lusterstone, a luscious plaster infused with mica, will make the most of the light fixtures. I played with several color mixtures, dabbing my floor sample to see what color would sing out and keeping in mind it is studded with silvery blue glass inserts. Here are my inspirations with a large piece of the chosen color of lusterstone.
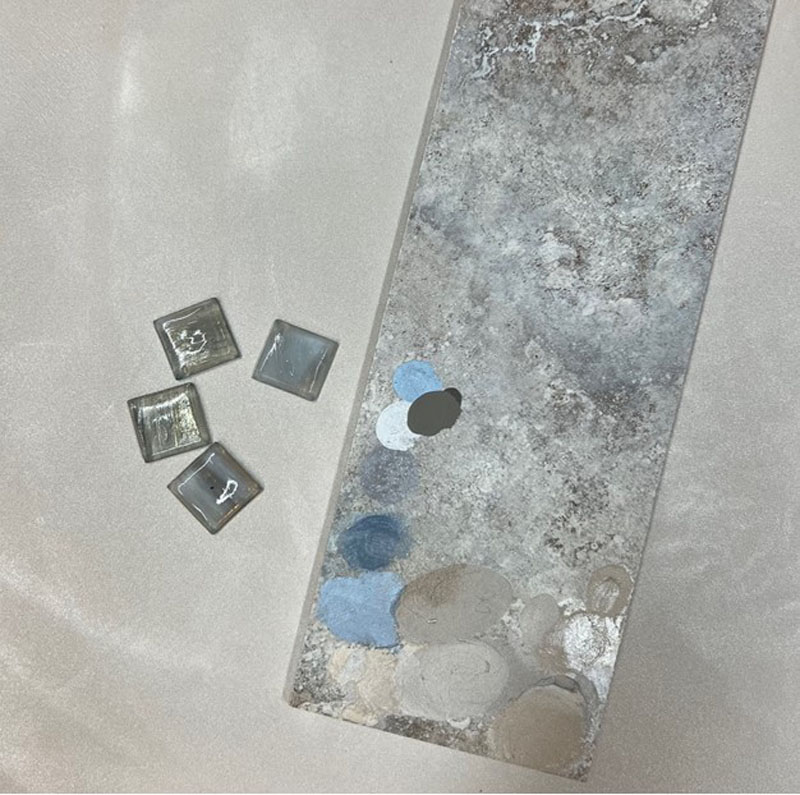
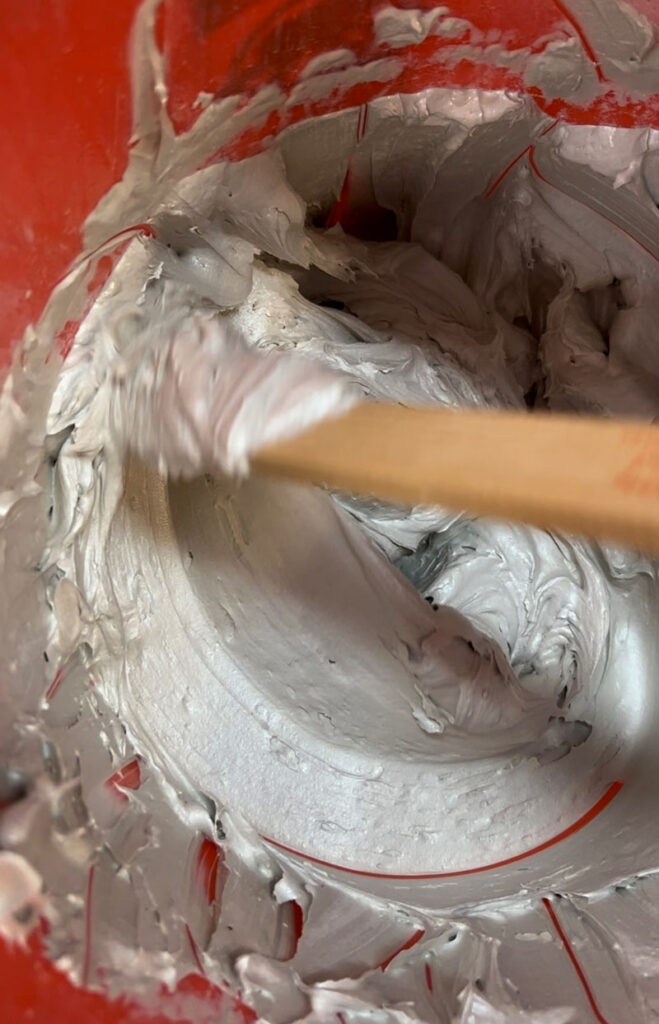
Of course, though Lusterstone is available in dozens of beautiful colors, I needed to custom mix the perfect color.
On the large sheet of lusterstone, I painted a sample of the ornament. Metallic colors in silver and blue to be outlined by a muddy gray that peeked out in the floor’s color.
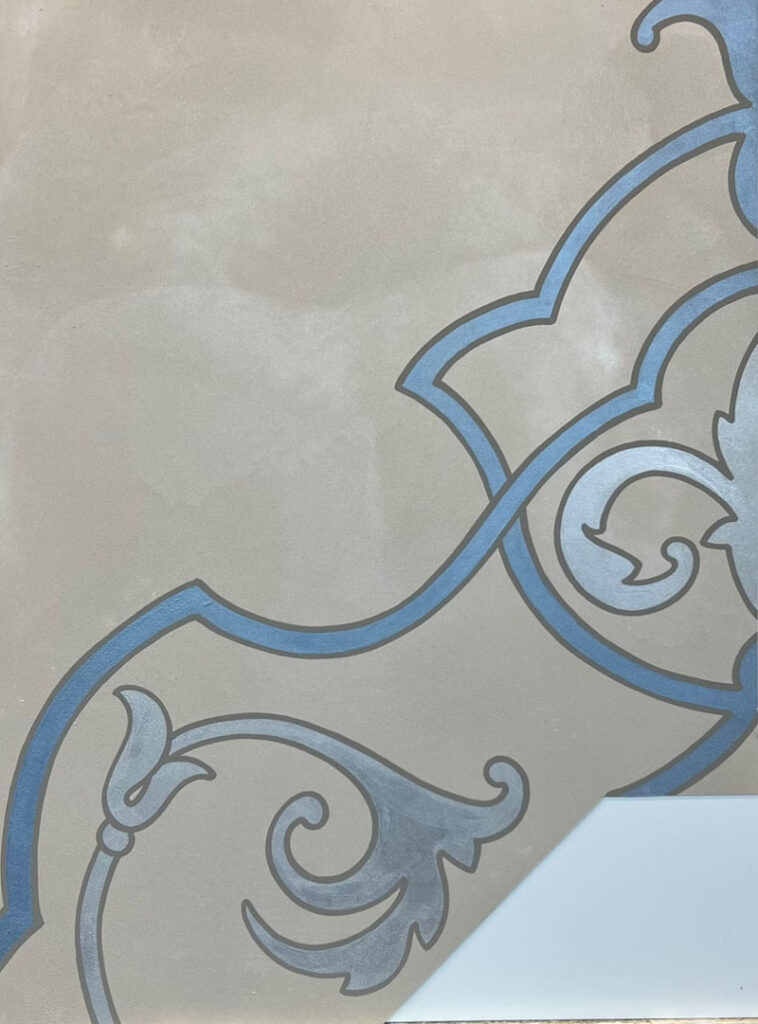
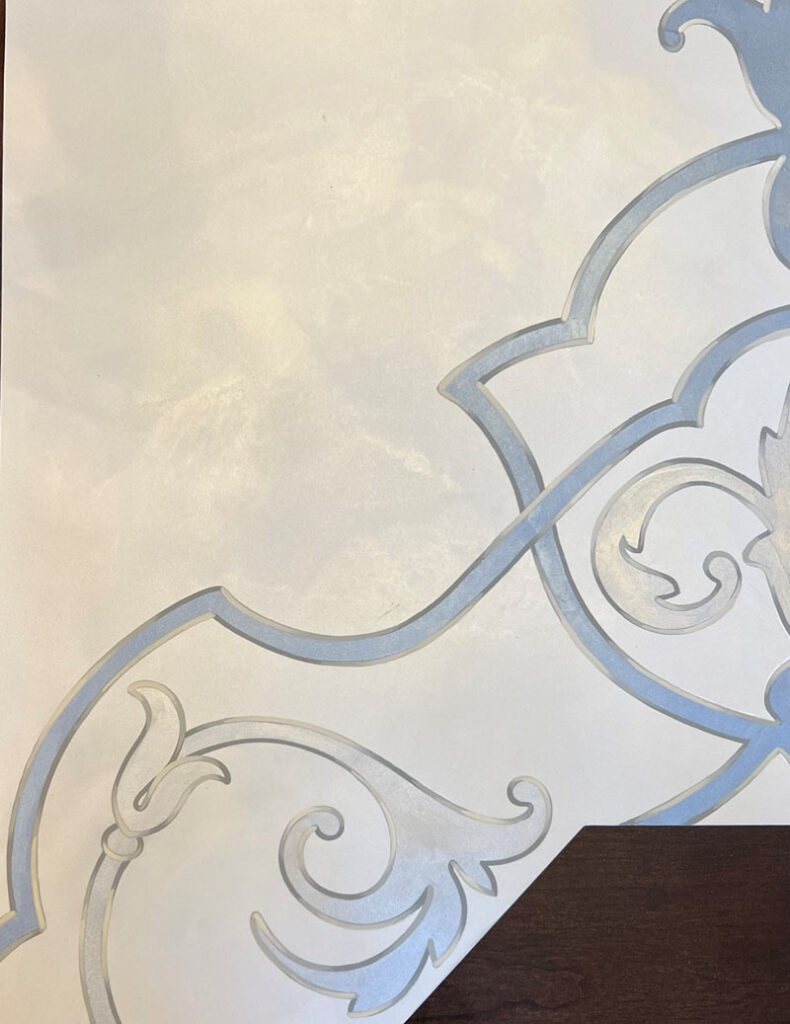
It’s good, but I’m not feeling it. I adjusted the color of the wall plaster and add a new finishing touch to the outline. Three more passes in increasingly lighter shades of the outline. It looks chiseled. It dances in the light. I’m in love and so is my client.
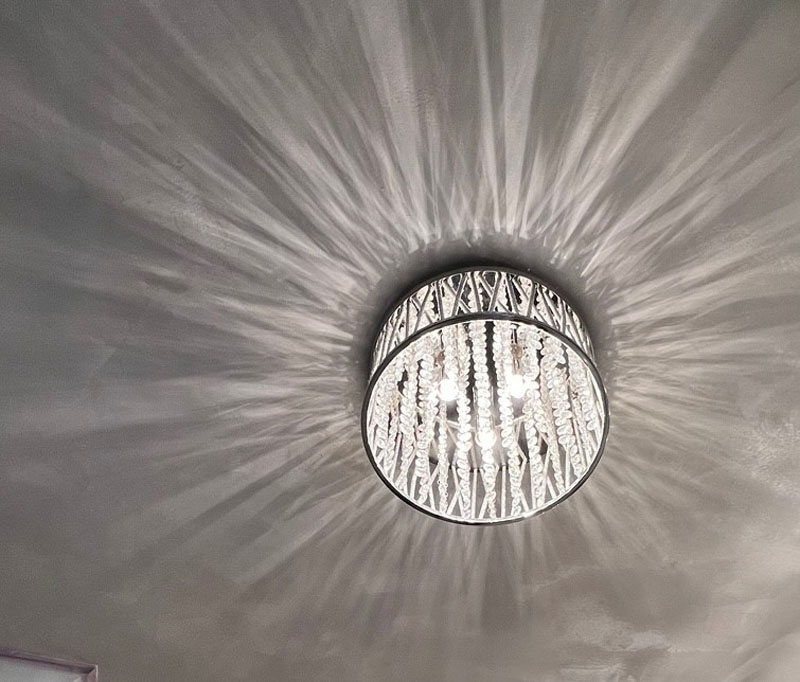
Plaster goes up. Three layers on the walls and ceiling. Look at the light pattern shimmering from the light fixture.
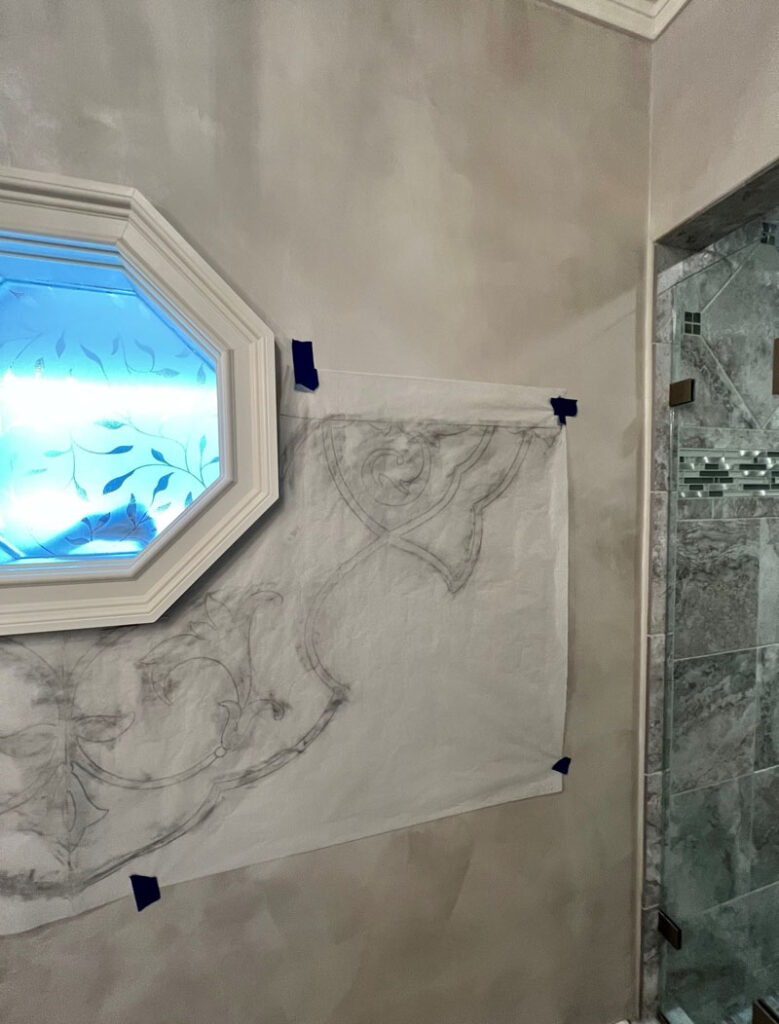
Next, it’s time to add the pattern through a pounce pattern. The paper has been rolled with a wheel called the pounce wheel, leaving tiny little holes along the outlines. Then, I gently rub charcoal through the holes. Lastly, I go over the design with a pencil, dusting the charcoal away. Patterns have been transferred this way for centuries. It’s tedious, but it works.
Next, I base coated the entire design with matte paint. Lusterstone is porous and without a sealing basecoat I’ll be painting layers of metallic paint, hoping for opacity. Careful work here. There is no room for error. You cannot correct a design like this by wiping it off. A stroke goes too wide or too wavy, you have to re-plaster.
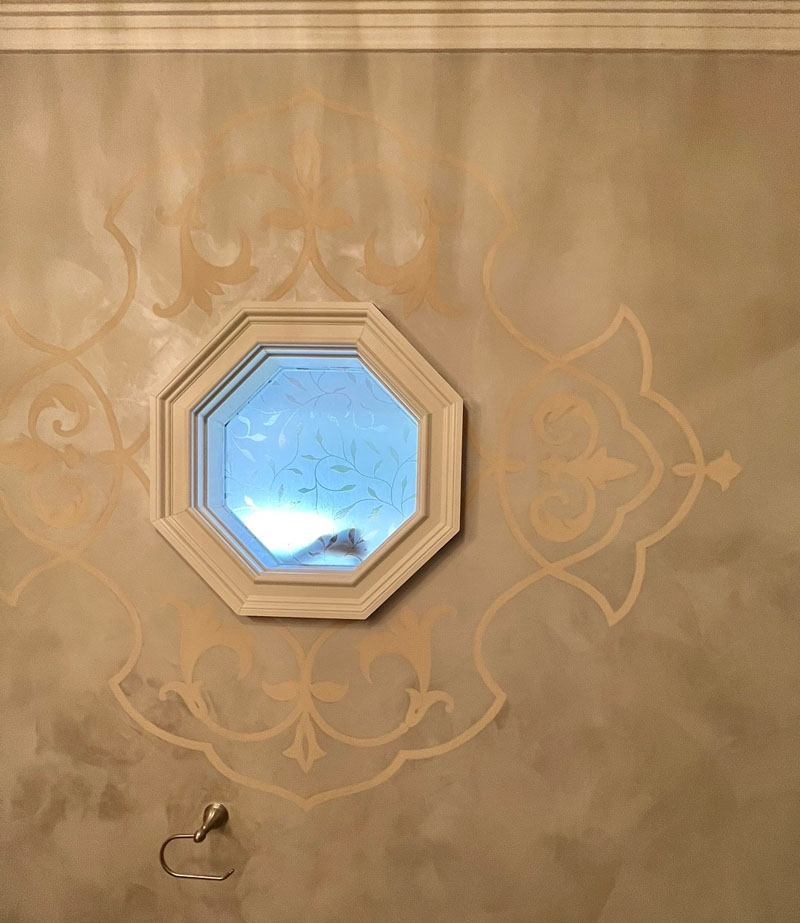
The metallic paint is in place and the first outline goes on.
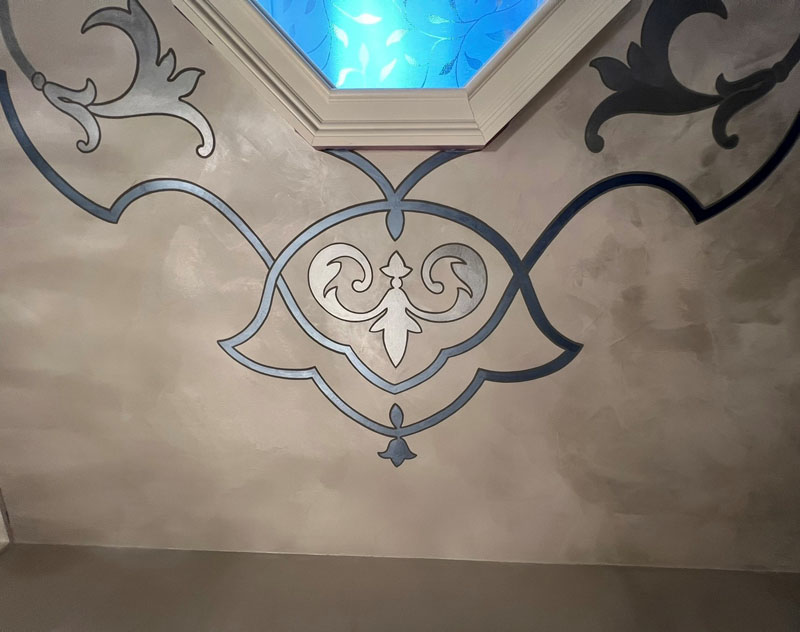
I’m getting a little sad today, because the end is in sight in my mind’s eye and I just don’t want this room to end. The detail work is challenging and my favorite part. My client is great company. I wish the room were twice as big.
But I do want to get to that chiseled effect. Outline done in a solid color, here go the lighter passes.
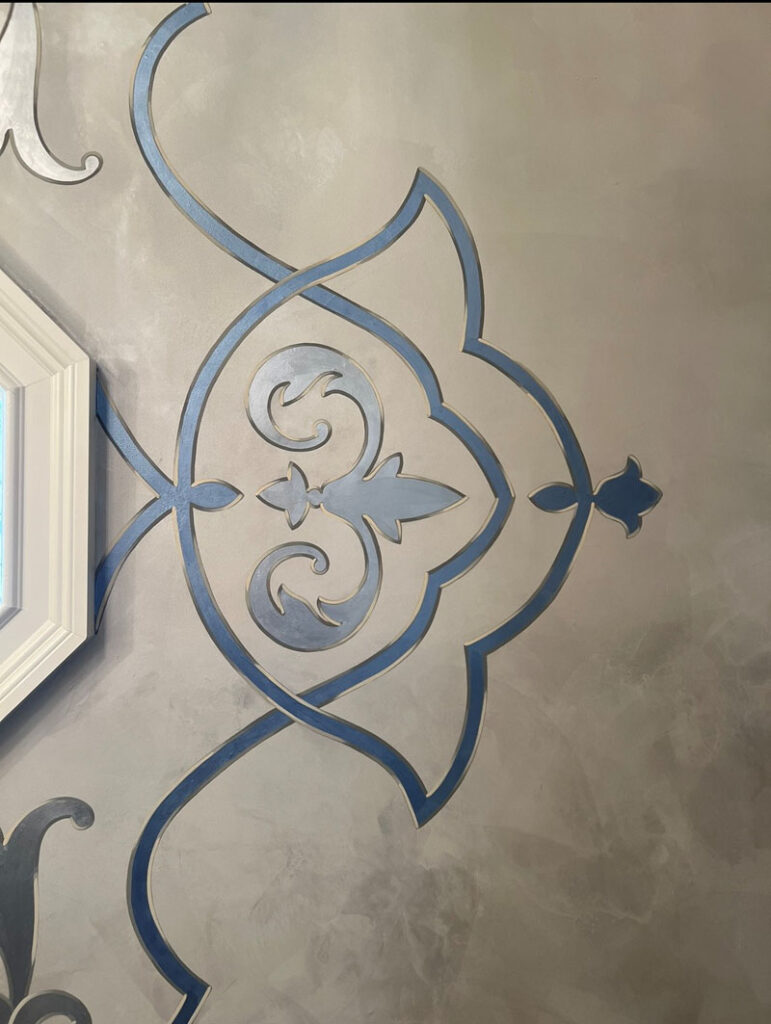
It shimmers before me and before I can slow things down, it’s done.
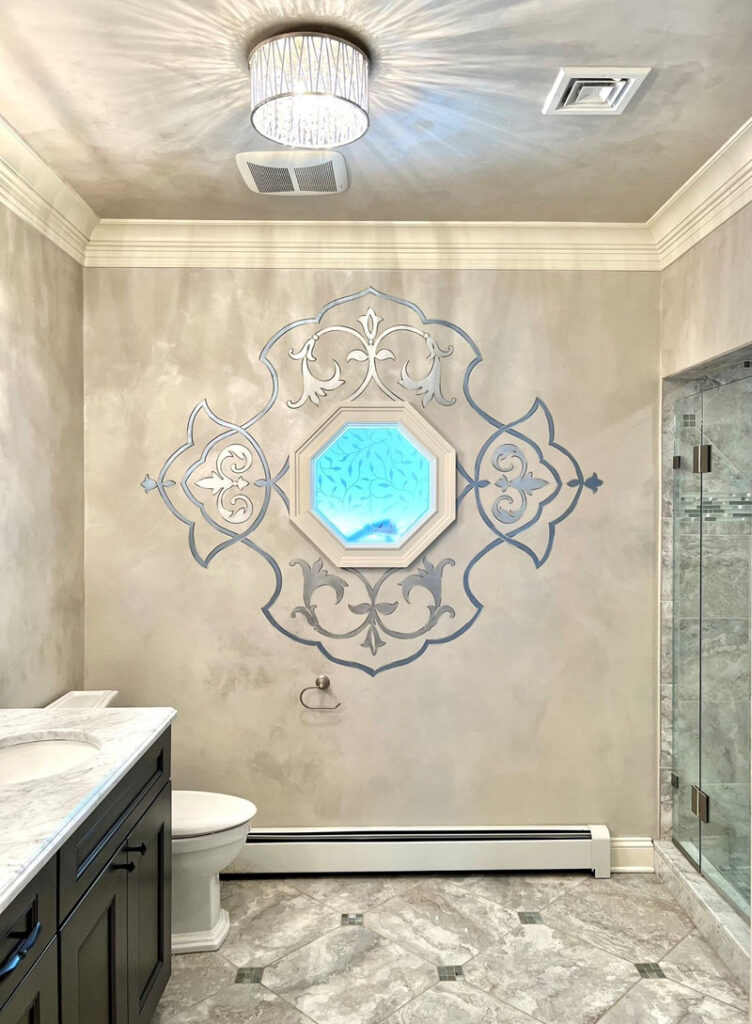
And I’ve got to say, it’s more than a wee bit magical.
I’d love to know your thoughts on this project. Before I go, I did promise you, my faithful readers, pictures of the mural I was painting in my own bedroom. I created a problem when the bed just did not work well with the mural and upon moving the furniture around, I was left with a straight line on the bottom of my mural that was now exposed and needed to be corrected. Here’s a reminder.
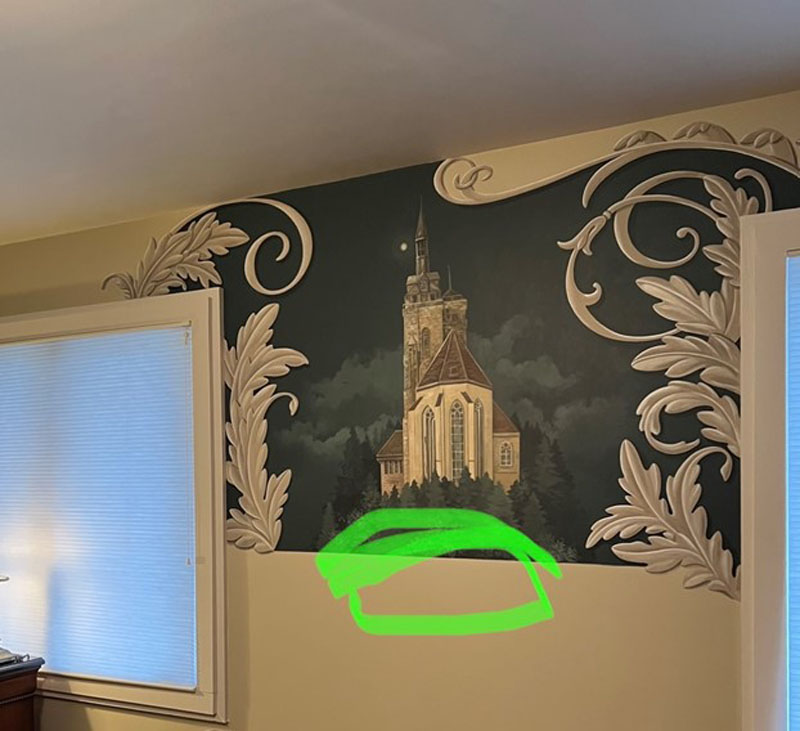
Solution, add a ribbon like banner with the name of the church featured in the mural. I am so happy with the solution.
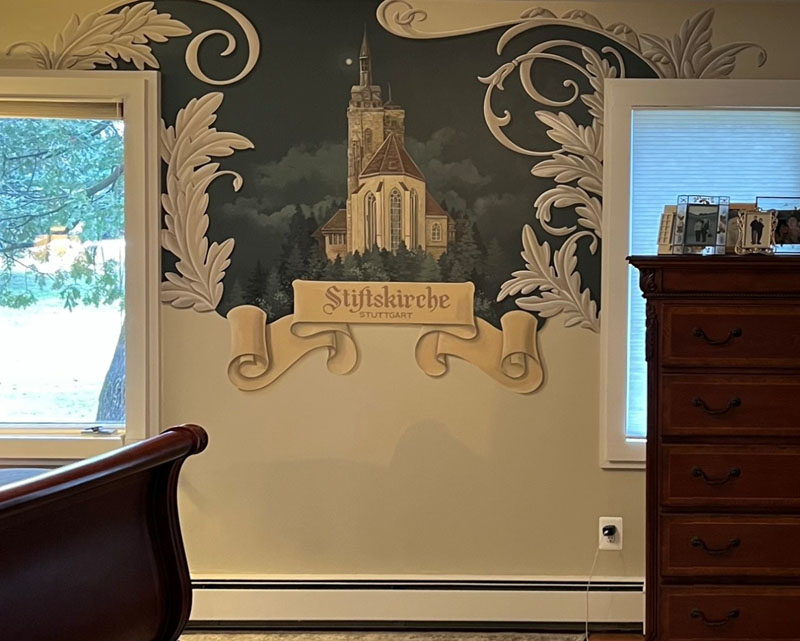
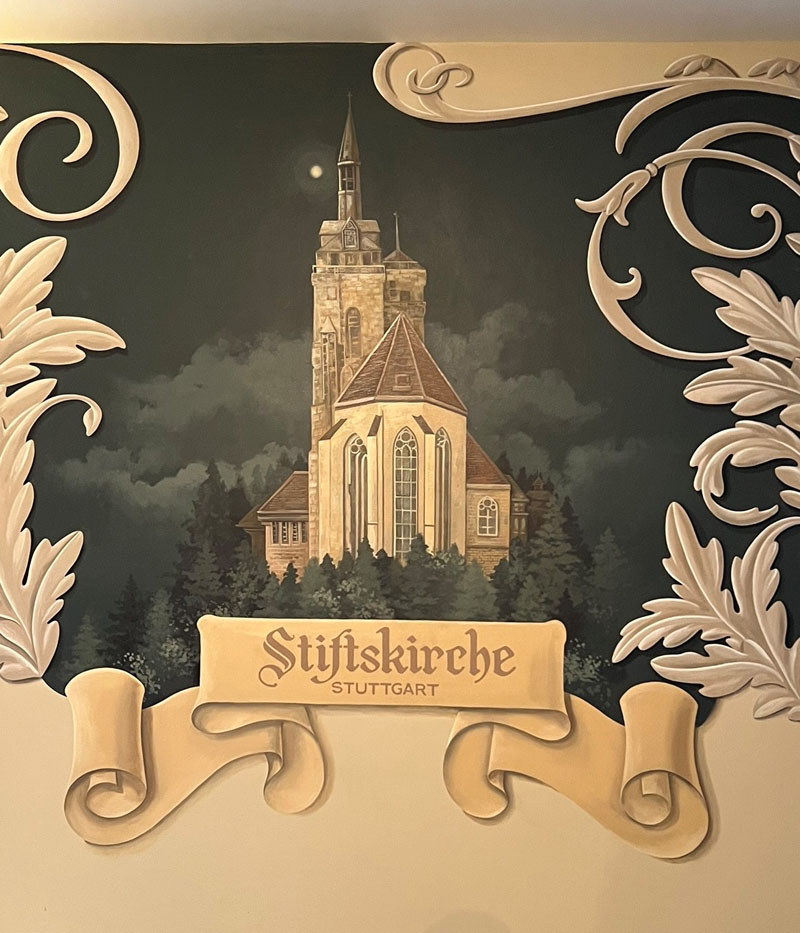
I cannot tell you how much I enjoy waking up to this every morning.
Paint? Plaster? What a difference they can make.


Sorry, the comment form is closed at this time.