I did title this email Odds and Ends. The “Odd” portion is not so much odd as it is simply a technique I don’t use often.
And what is the rarely (for me) used technique? Its French name is Faux Bois , translating as fake wood, or woodgraining. It falls into the category of trompe l’oeil, French for fooling the eye.
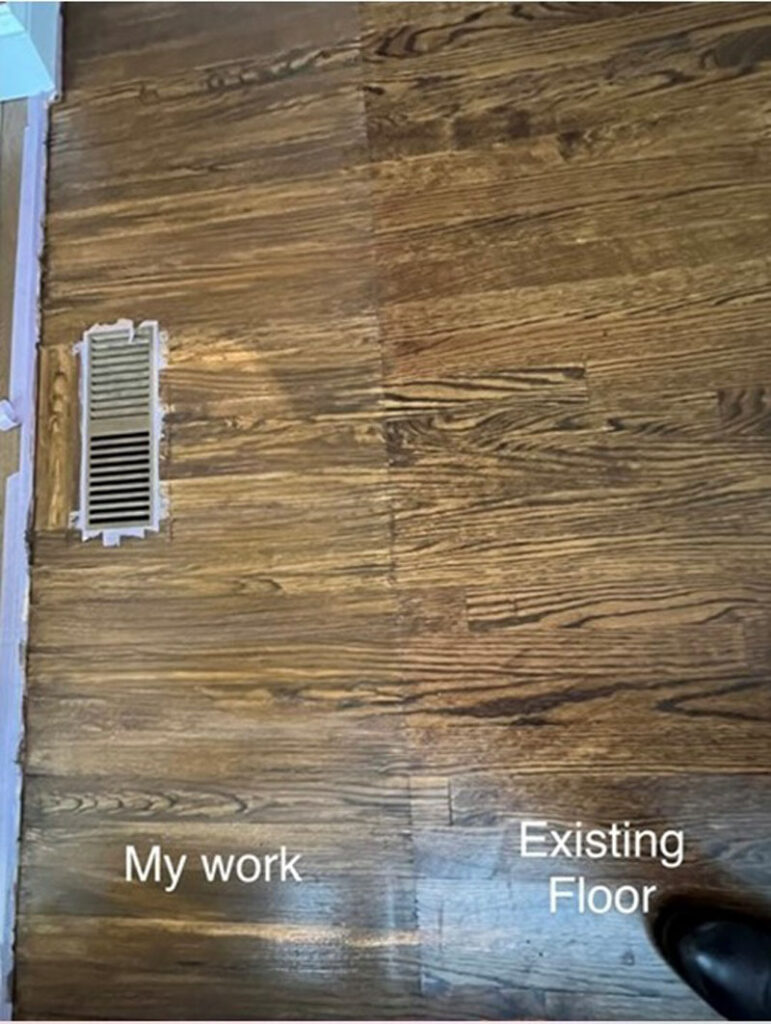
So, the new challenges presents itself and it’s one I’m ready to take. A portion of the floor in my client’s library was damaged when the adjoining foyer floor was replaced. Staining the damaged area and trying to restain the existing floor which was decades old would never be a good match.
So gather up all the little tools of faux bois that so seldom see the light of day on my watch and let’s tackle this floor.
I thought I’d share the steps so that perhaps if you ever have the opportunity to see some faux bois work, you can appreciate the many steps needed to achieve it.
First, choosing a basecoat like what the color peaking through the grain that the eye sees. If only all the steps were this simple.
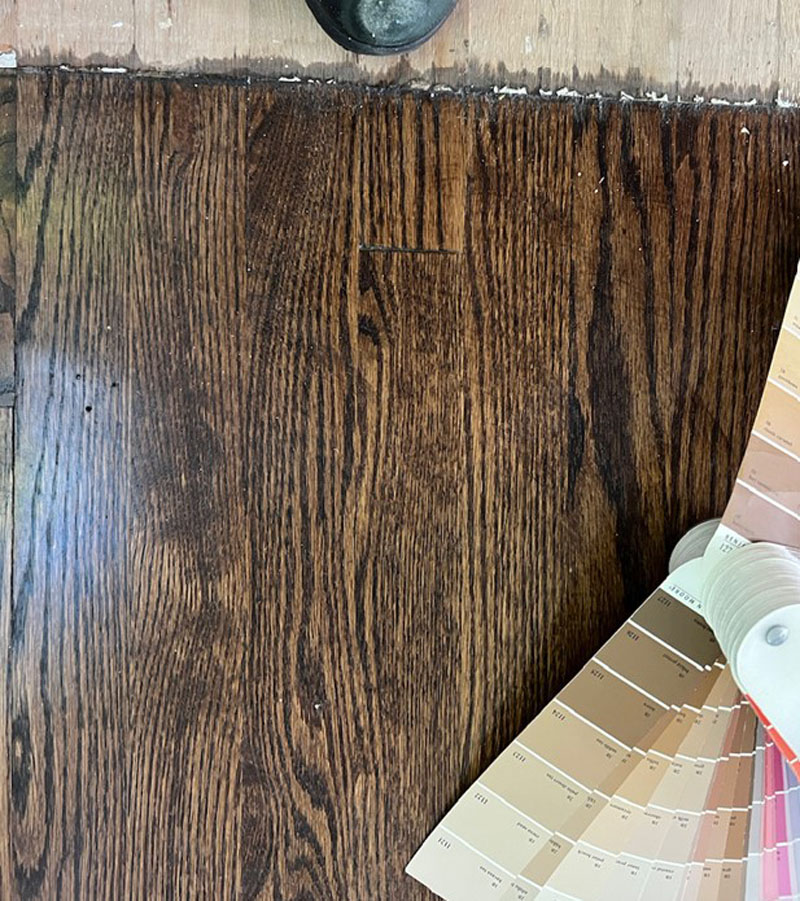
I primed the area first, and then applied two coats of the chosen basecoat color. (That’s three coats, if you’d like to keep track.) I applied the first coat of glaze, not separating the strips of planking yet.
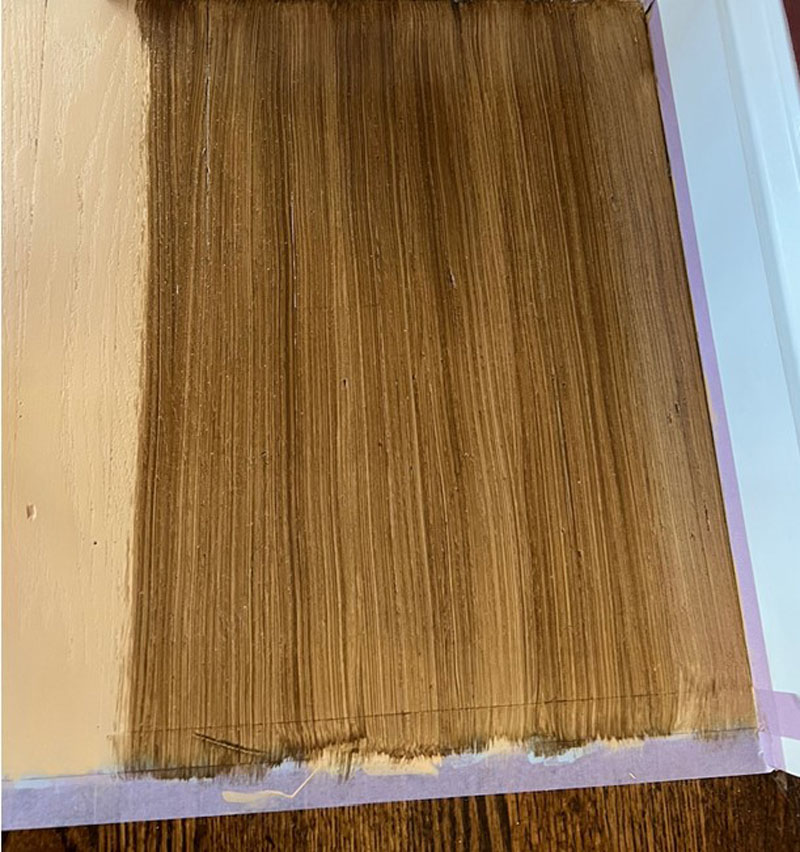
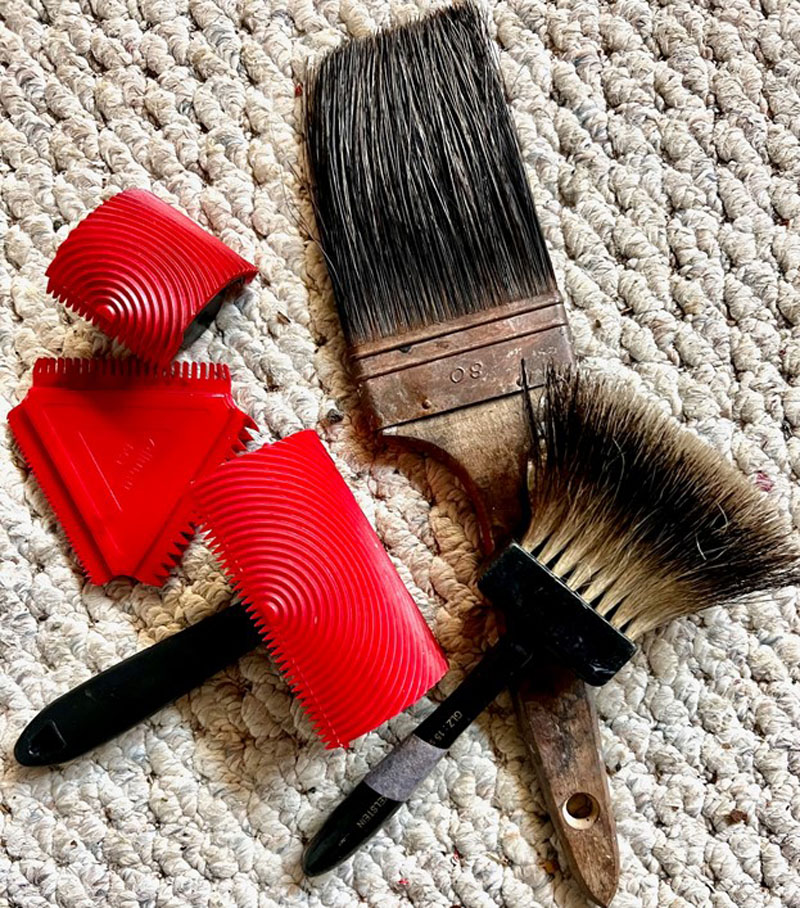
The first coat of glaze is brushed on, and then softened with a flogging brush. The movement’s results resembles little flecks of wood. Next, I rolled it with a checking tool. The washers on this tool move separately to produce fine, broken spores. Pretty neat. A lot of texture being seen here.
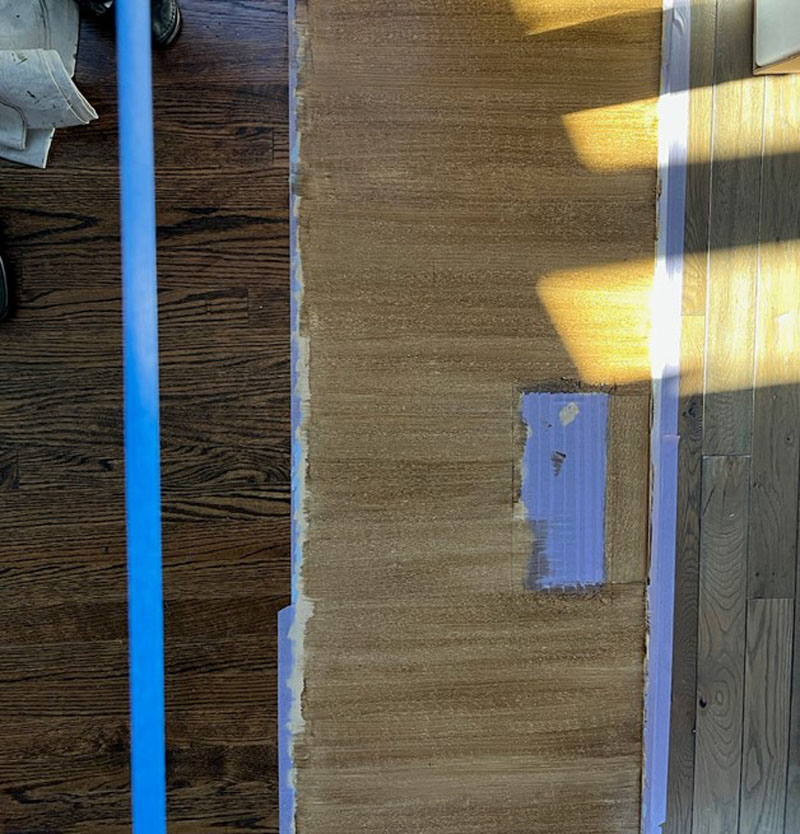
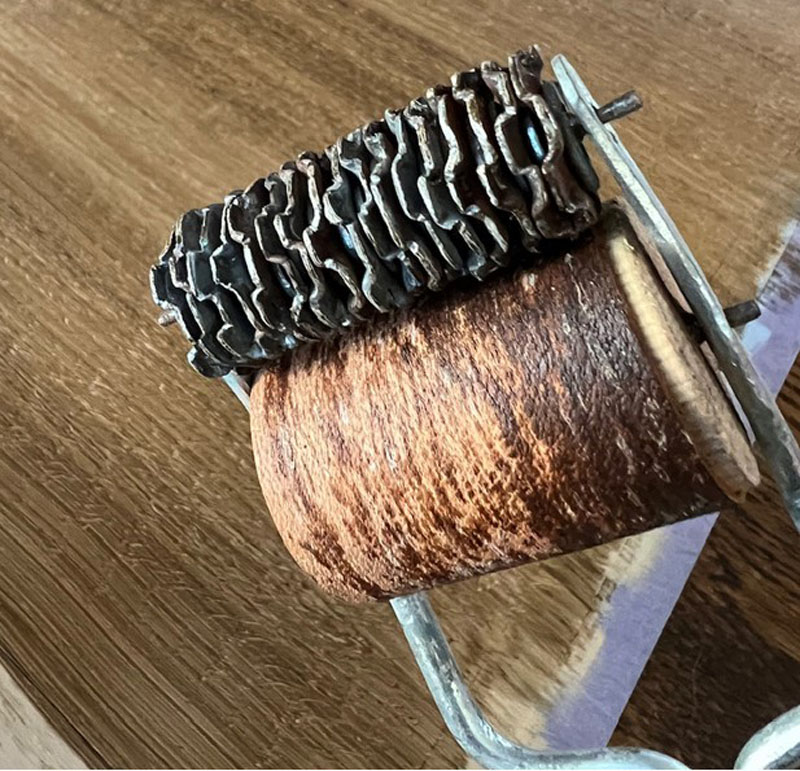
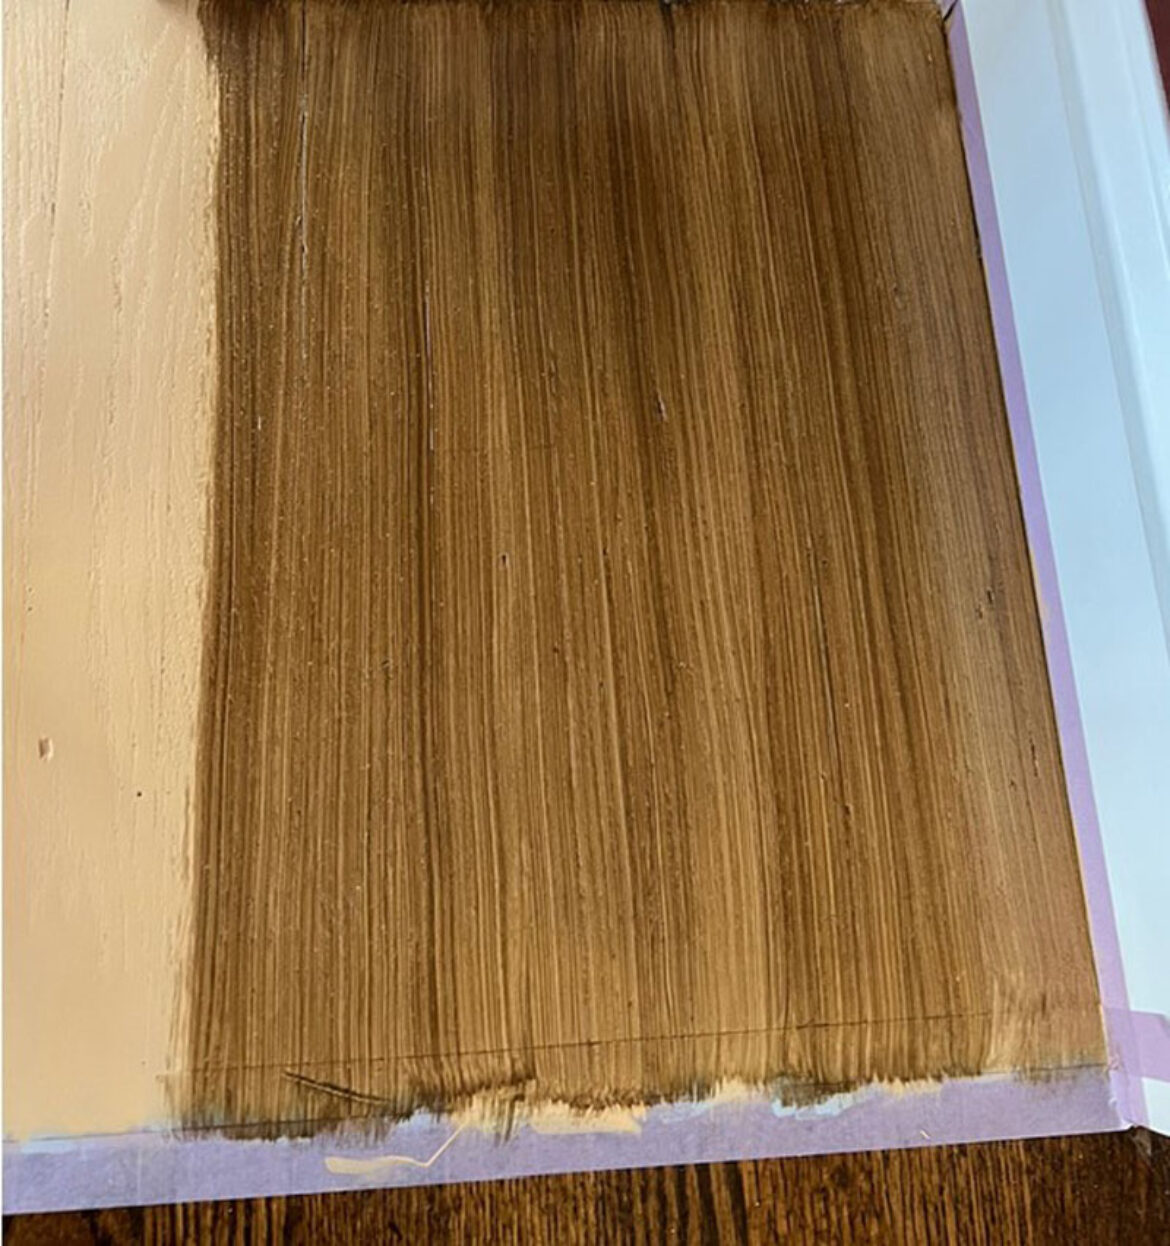
To create oak grain, I use a tool called a rocker. Check out these tools. Rockers, combs, flogging brush and a badger brush for softening.
We’ve finally arrived at the fun part, rocking the grain. I must tape off alternating strips of wood.
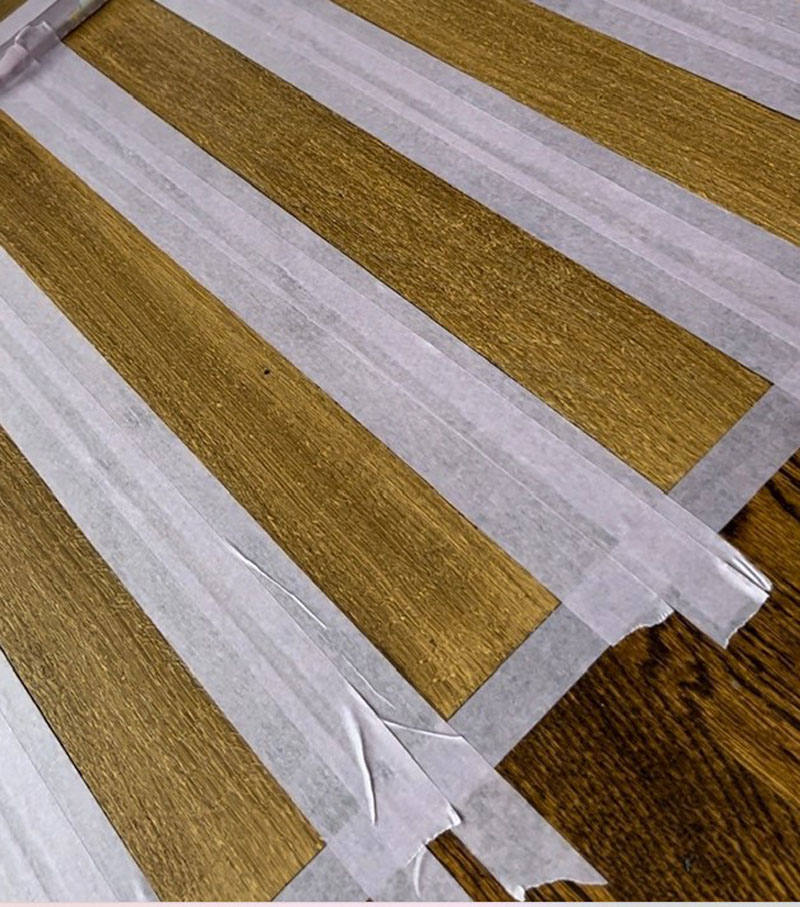
Are you getting an idea of the time? Two passes to get this step done.
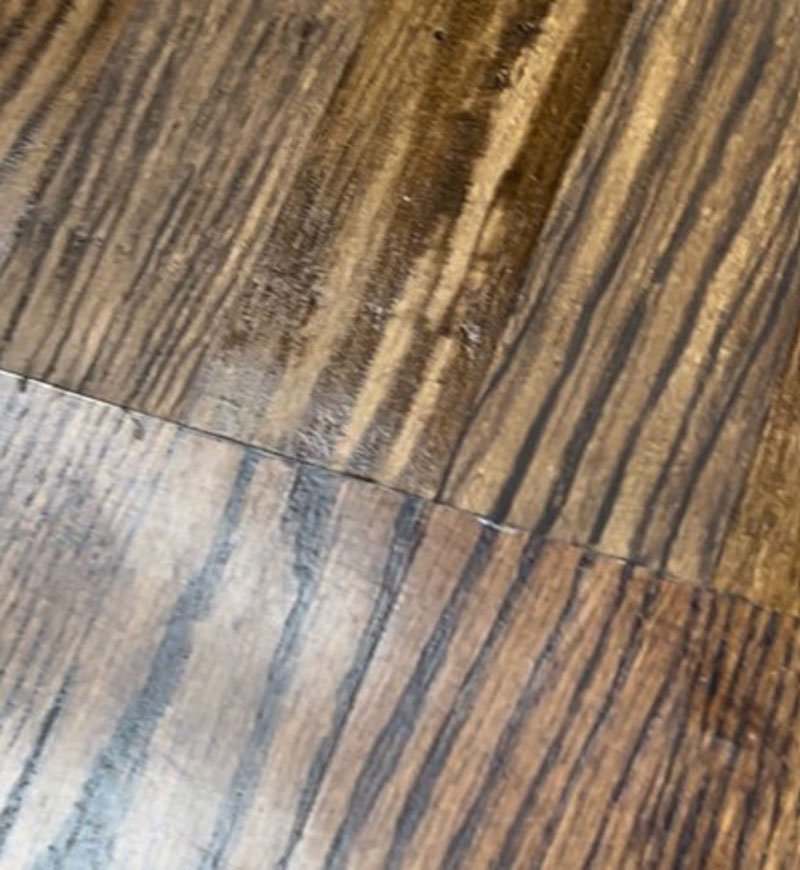
When the grain was in place, I overglazed to get more depth, adding deeper color. Pull the tape off. And add two interlocking coats of sealer. If you were counting, it’s eight coats of paint or glaze. I kept each one as thin as possible to keep the ridge between as minimal as possible. So without further ado, here’s the finish. I think it’s a good looking match.
And now, to the “ends of “odds and ends.” A few months ago, my newsletter covered a project for a contemporary designed focal wall. I had just seen a sample of the fabric and promised an update when I got better pictures. Here is that room and a closeup of the fabulous window treatment designed by Dyane Prezioso of Shadee Lady Interior Design and Custom Window Treatments.
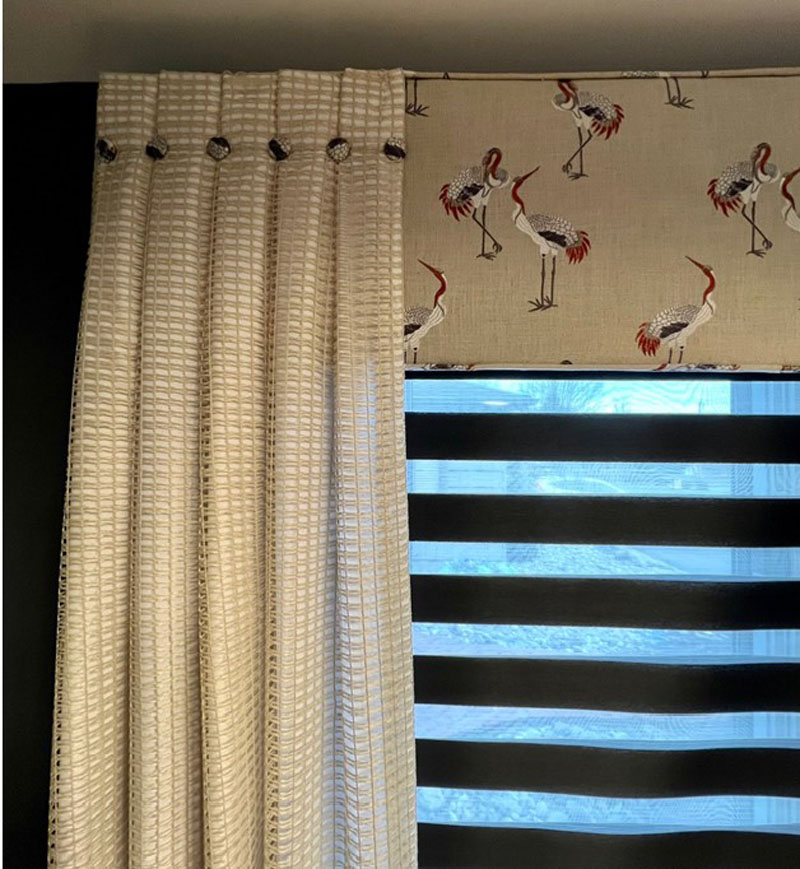
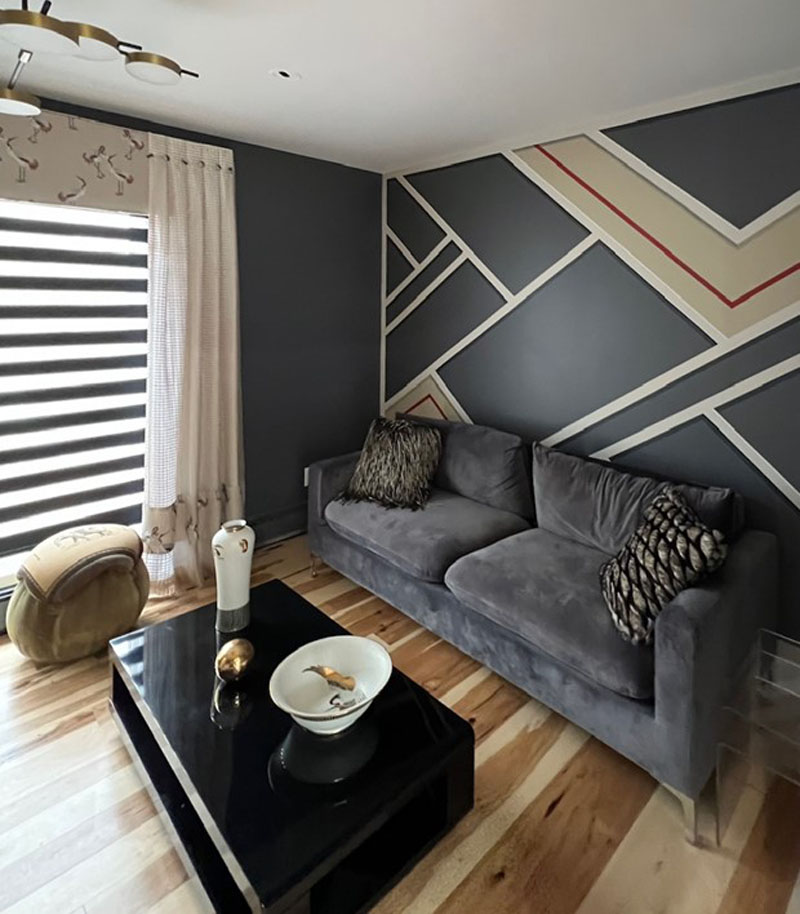
A perfect ending for this room design.
As I write now, it’s just before Christmas, but you won’t be reading this til the New Year.
For all of you who read my newsletter, thank you for supporting my life as an artist.
For those whose commissions I’ve been privileged to receive, I am truly humbled and grateful for your trust in my talents. Thank you for the honor of bringing your paint and plaster visions to life.
I wish you all a healthy and prosperous New Year.


Sorry, the comment form is closed at this time.